Keurigs are an amazing invention…
but if you use your machine frequently, you likely have a good idea of how finicky they can be.
If your k-cup is even slightly misaligned, it can cause your machine to overflow, or barely drip at all.
This can be a huge hassle, especially if your Keurig and the land where you keep it are already small, and you’re eager to make a cup of coffee as soon as possible.
This article basically deals with the Keurig problem.
For a proper understanding of the matter given below let us first know what Keurig is.
Keurig is a beverage brewing system for households and for commercial use.
It’s an appliance that particularly aims to provide hot and cold beverages to satisfy every consumer need, anytime of the day and anywhere needed.
Keurig contains a single-serve coffee container, called a ‘’K-Cup” pod, consisting of a plastic cup, aluminum lid, and filter that stores the grounds. There comes a water reservoir in almost all types and brands of Keurig brewer models that stores large quantities of water, making it easy for the consumer to continue with a single press of a button to brew their coffee.
After the coffee brewing temperature equals the temperature of the water in the reservoir, the water steadily passes into a hosepipe at the top of the brewer.
Everyone wants their start of the day to be very energetic and fresh, for this one must strive for a refreshing, hot cup of coffee.
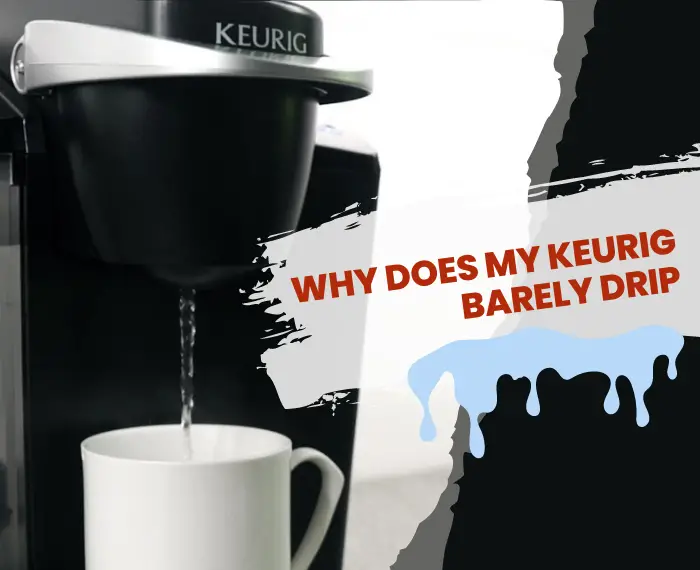
But what if your Keurig rarely drip?
The question doesn’t seem so drastic when it comes to the working of an appliance, but for those who are solely dependent on it, finds themselves stuck in a great blunder.
If your Keurig is dripping K-Cups slowly or not at all, you might be tempted to throw it out and buy a new one.
Don’t do it!
There are a few things you can try to help get your Keurig back on track.
To overcome this problem, who has got it and also for the one’ s who might be getting such an issue let’s find what are the causes for this problem.
The main causes can be listed as follows:
- Excess scales build up inside the water lines – while brewing coffee, some coffee grounds get stuck to the walls of the Keurig and due to prolonged usage they get converted into a scale sort of thing which is hard to remove.
- These brewing systems can work for a longer period of time if only handled with care. The cleaning of the water reservoir is a must if you want your Keurig to work efficiently and go at the verge of replacement.
- The exit needle may also be clogged – some people avoid cleaning the Keurig needle due to which the rate at which coffee comes out gets slowed down.
- The exit needle is pretty much more sensitive with the remaining parts of the Keurig. Due to its smaller diameter it is hard to remove the scum.
- If anyhow some leftover or undissolved grounds sticks to the inner surface of the needle that might result in inappropriate working of the Keurig.
Others signs that signifies that the coffee maker is overdue for cleaning are either visible scum or smells comes up or bitter taste of the coffee, calcium buildups on the parts
Now, the most important part of article is here
What are the possible measures that one can take to avoid the barely dripping problem of the Keurig.
- Descaling the Keurig -The excess built up or scum can be removed by the descaling process that is removing the scale with the help of vinegar or a mild dishwashing soap.
- Cleaning the exit needle – the exit needle needs to be clean for the proper functioning of the Keurig.

Well, how can the above two tasks of cleaning the Keurig be achieved:
Descaling the Keurig
If your Keurig has become less than impressive at producing beverages, and you’re not sure why, you’re not alone.
The machines are designed to brew a full 8 oz. cup of coffee, tea or hot cocoa in under a minute, but sometimes they seem to take forever.
If you’re having trouble with your Keurig, here’s what you can try to fix it.
Task 1: Power off the Keurig and empty the water reservoir also don’t forget to remove the water filters.
Task 2: Pour the descaling solution into the reservoir if you don’t have the descaling solution you can also pour half a cup of white vinegar as a substitute.
Task 3: Take a water filled bottle and add it to the reservoir.
Task 4: Put the power on, place the mug, then perform a cleansing brew using 10oz. brew size.
Task 5: Pour the contents into the sink.
Task 6: We have to repeat this until the light of add water comes up.
Task 7: With the power remained on, leave the brewer for half an hour.
Task 8: Stain the reservoir thoroughly and nicely.
Task 9: Again fill the reservoir with fresh water, and continue practicing at least 10 cleansing brews
Cleaning the clogged exit needle
Have you ever tried to make a cup of coffee with your Keurig, only to have it drip out more slowly than a leaky faucet?
If so, you’re not alone.
While these little machines make great coffee, they can clog up over time.
One helpful hint is to run vinegar through the machine every few weeks. This helps dissolve coffee oils and other residue that can build up in the machine over time.
Second way is to use the Keurig needle cleaning tool, fill the silicon bulb of the tool with water till the top, make sure the Keurig is powered off, lift the handle and place the brewer maintenance accessory in the pod holder, make sure the arrows are pointing downwards and the accessory is completely in place.
Raise and lower the handles approximately five times, remove the maintenance tool, place the mug on the Keurig, follow the instructions to brew six ounces of water, once brewing is completely empty the mug into the sink and that’s all the dripping needle is clean now.